Bringing this old thread back from the dead.
And about 13-14 months after I first decide to start this project, I'm FINALLY done!... for the most part.
For those who don't know, a standard Sega Naomi system is usually pretty cluttered: Naomi main board, a power supply, a JVS I/O board, and possibly something for controls, video, and sound (kinda like
this, if not with even more components).
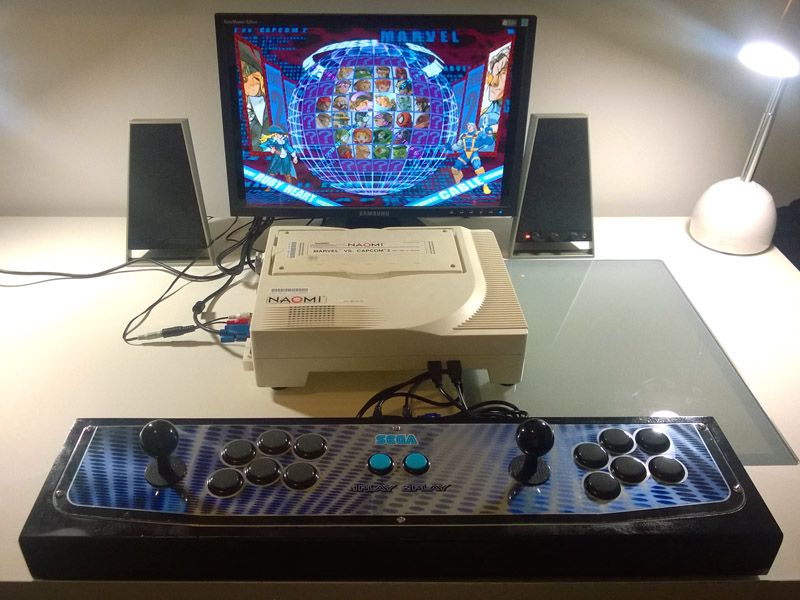
I present you my Consolized Naomi.
Main overview, connected to my Double Sega-sticks.
Power supply, I/O board, and USB decoders are all integrated into the main board's casing.
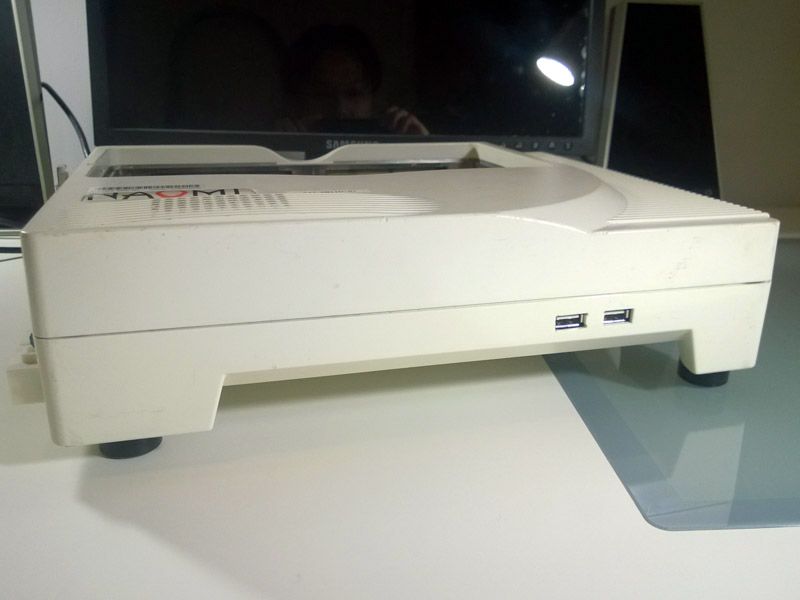
Front. USB inputs connected to a couple of UD-USB decoders. These decoders pretty much take any PS3 or X360 wired controller.
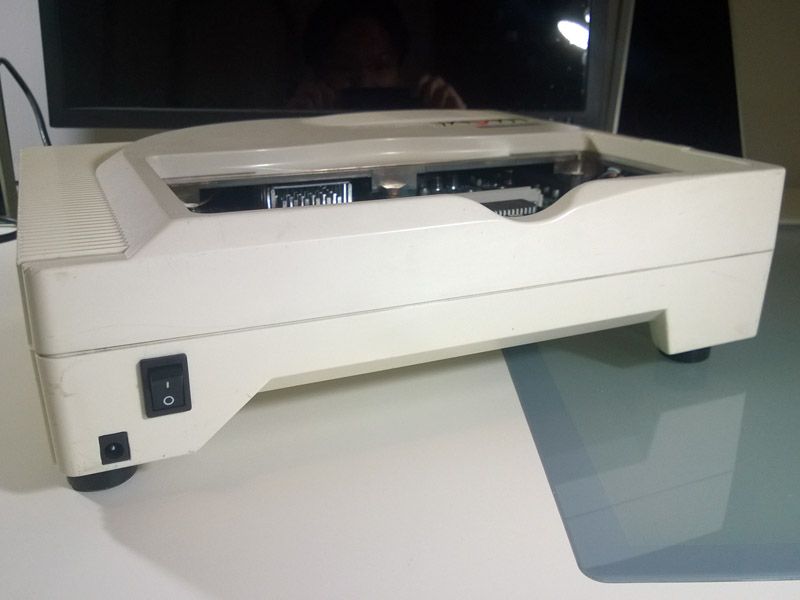
Back. Nothing special here either, just a flush-mounted DC-in and power switch.
Internals after taking off just the top cover; almost looks like nothing has changed.
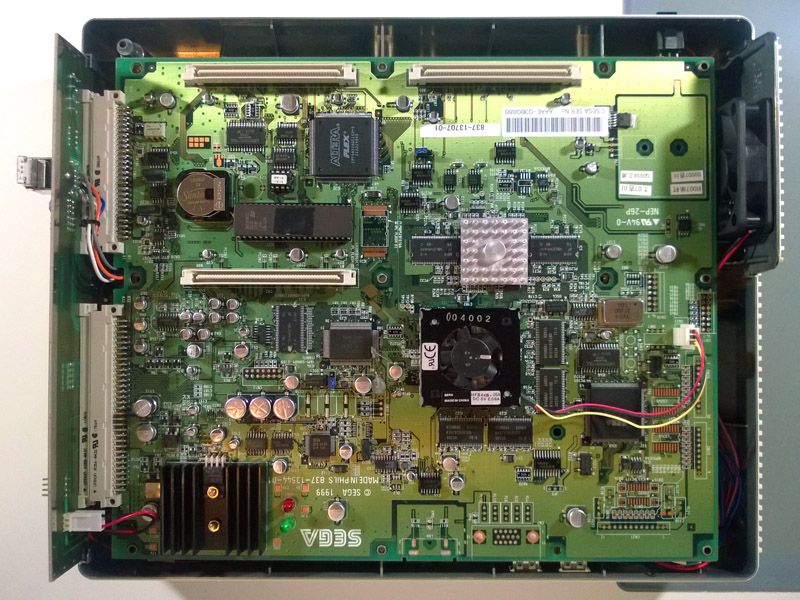
Removal of the main board, and this is where all the magic happens.
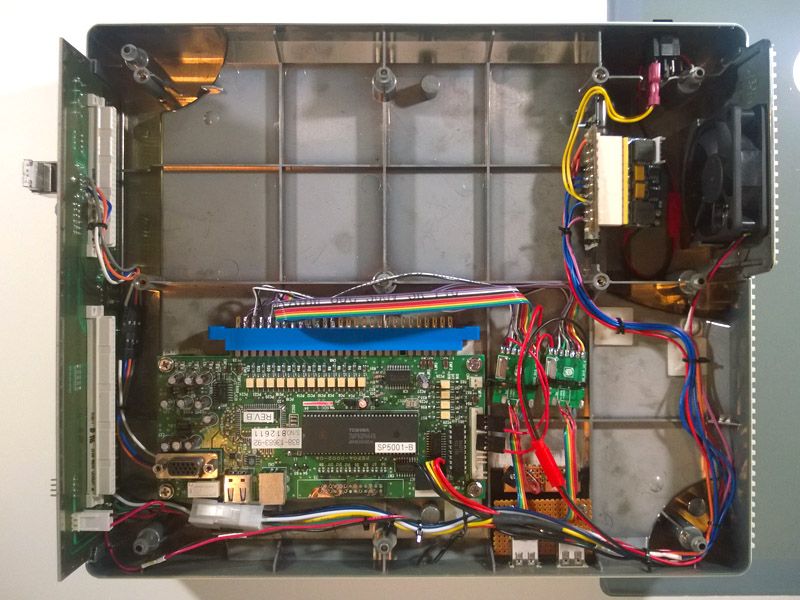
- PicoPSU (upper right) for close proximity to the DC-in jack and power switch, and the exhaust fan
- Sega I/O rev.B (838-13683-92 model) on custom hand-made ABS stand-offs
- 2x UD-USBs (DB-15 version with no connectors)
- USB jacks and micro-tact switches on a custom ABS mount
I think I pretty much achieved all my main goals:
- Consolize the Naomi (duh!)
- No change in shape/size/silhouette (the only added protrusion is the power switch)
- Pretty much everything is modular for easy maintenance (there are connectors all over the place inside)
I left the area below the cartridge empty in case I ever want to add in something for Composite/S-Video/Component video-out at 15kHz. I should also go back and add in a couple of multi-color LEDs for the UD-USBs as well. And if I'm up for it, maybe clean up my wiring a little bit, in particular my power wires.
The only thing I'd really do differently next time is to maybe mount the power switch on the slant or underside of the casing; that way I wouldn't disrupt the overall external shape of the case.
Next up is to mod my NetDimm...


 Grand knowledge of all things Transformers
 [{o}] Till all are One